
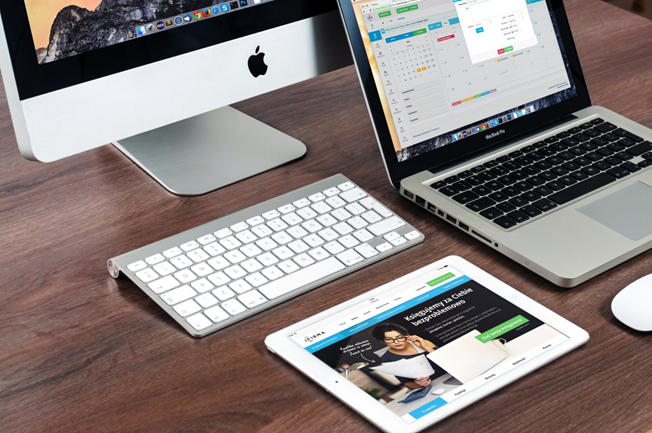
Did you know that your Mac has a built-in robot that can do many tasks for you, saving you tons of time? If not, that’s okay.
More than 22 million MacBooks were sold in 2020, and almost none of those users are aware of the Mac Automator. That means that these millions of people are wasting time completing repetitive tasks manually because they are simply ignorant of the robot they already own.
Are you on the lookout for Mac shortcuts that can save you time, which also helps you to save money? Then you need to know how to use Mac Automator, the free automation tool that can help you manipulate images and files at scale.
So what exactly can Mac Automator do to make your life easier? Keep reading to discover five of the main ways to start using this application.
1. Scale Down Image
If you are a photographer, designer, or someone else who works with lots of images, you know the pain of having to scale down large image files. After all, large images would slow down web pages if they were uploaded at full size.
Luckily, images don’t need to be full size to look good on a web page. Most people use small screens, such as smartphones or laptops, anyways. So an image that is only 1,200 pixels wide is more than sufficient. But images coming out of modern cameras can be up to 6,000 pixels wide.
Of course, you can edit photo sizes one by one using Preview on Mac. You can also do it one at a time when using photo editing software.
But the easier way to scale your images down to a consistent size is to use Automator.
You’ll start by opening Automator and creating new automation. Add the collection of photos to be edited in the left column. Then add the “scale images” function to the right column. Then save the app to your desktop.
You’ve essentially created a brand new app on your MacBook. To use, all you need to do is drop individual photos or a folder containing a collection of images onto the application’s icon.
You can edit the app at any time change the desired resolution. Or create multiple apps, each for a different resolution.
2. Rotate Images
Depending on how you take images, you might end up with many photos that are all sideways or upside down. This happens when using smartphones, as the orientation can get messed up when phones are held horizontally.
The slow way of fixing these photos is to open each one separately and click the rotate button multiple times until they are correct. But the easy way of resolving these on an ongoing basis is by creating an app with Automator.
Again, you’ll start by adding “Photos” to the left column. In the right column, you’ll add the “Rotate Images” function. You can select the orientation for each app and name the app on your desktop accordingly.
You can make multiple apps, each rotating images in a different direction.
3. Use Mac Automator to Convert Files
Take a lot of photos with your iPhone? Then you’ve probably experienced the frustration that comes along with HEIC files. These are the native format of photos taken on iPhones these days.
But not all websites accept uploads of HEIC files. So if you need to take a picture of a document, license, or something else and upload it to an app or website, you may have your photo rejected.
You’ll need to convert these image files to a widely accepted format, such as JPEG.
To do this, you’ll create a new application and again add “Photos” to the left column. On the right, you’ll add the “Change Type of Images” function. Choose the “To Type” according to your preferences, such as the universally accepted JPEG.
You can create other apps to convert to different files types as well.
4. Turn a Website Into a Native App
Most people don’t realize that websites can be standalone apps on their Mac. But they are used to having website-based apps on their iPhones.
For example, they might visit the Facebook website, Instagram website, or their bank’s website on their computer. But on their iPhone, they would just open the corresponding app, which functions much smoother and is easier to open and find.
And using Mac’s Automator, you can actually turn any website into an app that lives on the dock of your Macbook. This works by using site-specific browser (SSB) technology.
With the Safari save website as app function in Automator, you just need the URL of the site you’d like to convert to an app. And in a minute or two, you’ll have an app that can be customized to your liking.
5. Create a Custom Function
Want to get a little creative with your MacBook? If you know a thing or two about programming, you can script your own automation with this helpful robot.
Of course, Automator has tons of native functions already built-in. In fact, you can find hundreds in the library, each containing variables that can be adjusted for maximum use cases.
Or you can use Apple Scripts or Java Script to create unique commands that empower your desired workflows. First, you can add the run script action to your workflow. Then, enter the script code and any commands you’d like it to perform as a result.
Want increased customization without having to write commands yourself? Many third-party applications have custom-coded Automator functions that automatically add to your library when you install the software.
For example, many Microsoft tools like Outlook, Word, or Excel will come with Automator functions ready to go.
Learn How Your Computer Works
Mac Automator is one of the most powerful yet underutilized tools in the hands of all MacBook owners. If people took the time to learn how to use the expensive computers they hold in their hands, they could get a lot more done with far less effort.
Are you looking for more tips like this? Visit our blog today to keep reading.